Getting Started
Whenever I present or discuss photography, something that often comes up is panoramic photography. This is a subject that, when I was starting out, was intimidating. From the swathe of tools and accessories to executing the images properly, the whole subject can be inundating for the novice.
A few disclaimers first: Panoramic photography requires a great deal of patience and a sufficient budget to purchase the right tools the first time.
I highly recommend the equipment from Really Right Stuff (RRS) here. Their gear is top-notch, works flawlessly, and holds up to the harshest treatment. You can find more about RRS gear and their pano setup guides here.
Inspiration and Ideas
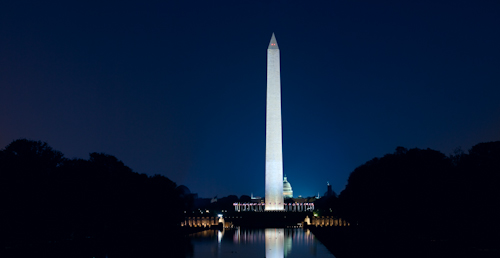
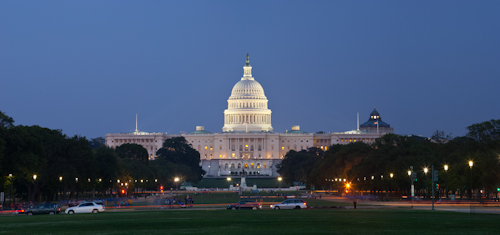
My recent trip to Washington D.C. gave me time to play with ultra-low light and late night exposures, and to make things a bit more challenging, I shot a number of vantages in panoramas. "Why?" you might ask, when a similar shot could be captured with a single exposure and without all the extraneous gear? The answer is two fold.
Resolution. By capturing a scene with multiple shots, and stitching them together, there are more pixels to play with. Instead of a single shot out of the camera that might be 8MP or 12MP, I have a 40MP or even larger image to work with. This provides for better noise reduction, crisper images during downsampling, and smoother tonality in large swatches of color (i.e. the sky in both images of this post).
Distortion Both of the images shown could easily have been captured with a wide-angle lens--in the whereabouts of a 16mm or 20mm lens. However, by increasing the distance from the subject, and using a much longer focal length (200mm in both cases), paralax and wide-angle lens distortion is not even a concern in post production.
